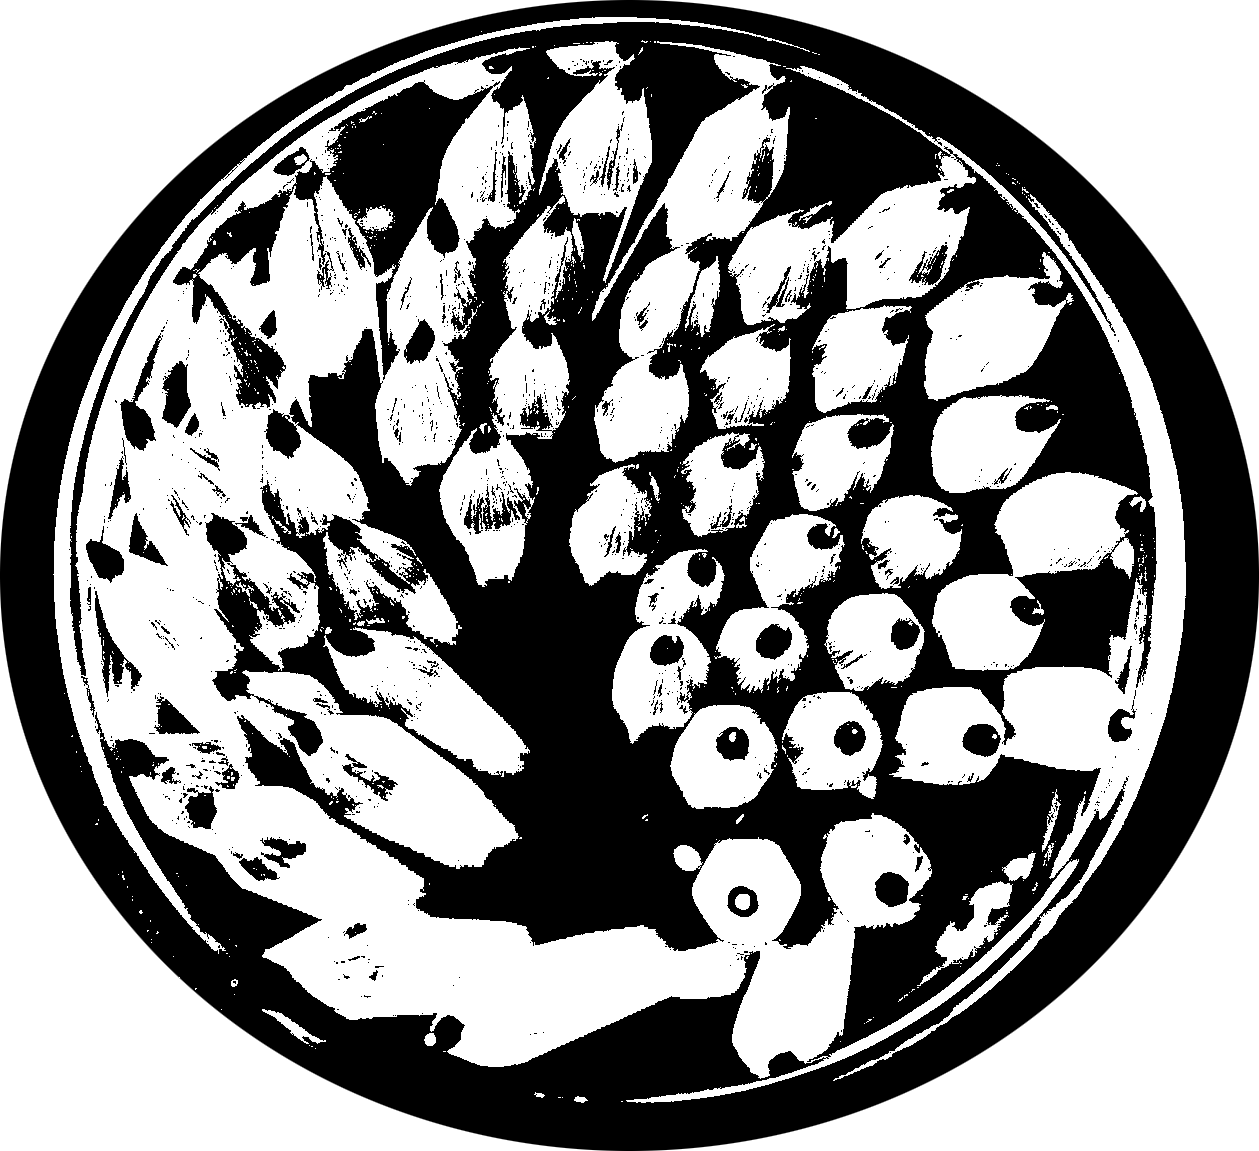
Coffee Cup Stains in PSE: A layout challenge hosted by Jessica sparked this post. I want to share 2 ways of making these coffee or tea cup stains in PSE.
Steps to Create a Coffee Cup Stain Using the Polar Coordinates Filter
1. Set Up Your Document
-
Open Photoshop Elements and create a new canvas or open your project.
-
Add a new blank layer (Layer > New > Layer).
2. Draw Horizontal Lines
-
Select the Brush Tool (B) and choose a small, soft brush with a dark brown color.
-
On the blank layer, paint horizontal wavy or broken lines across the canvas. These lines will later form the circular shape of the stain.
3. Apply the Polar Coordinates Filter
-
Go to Filter > Distort > Polar Coordinates.
-
In the dialog box, select Rectangular to Polar and click OK.
-
The horizontal lines will transform into a circular shape, resembling a coffee cup stain.
4. Refine the Stain
-
Erase Excess Lines: Use the Eraser Tool (E) with a soft brush to remove any unwanted parts of the circle.
-
Add Imperfections: Use the eraser or paint small irregularities (e.g., breaks, dots, or splatters) to make the stain look more natural.
5. Adjust the Color and Opacity
-
Lower the opacity of the stain layer to about 50–70% to give it a more realistic, transparent effect.
-
To enhance the look, use the Brush Tool (B) with a lighter or darker brown to add subtle shading and color variations.
6. Optional: Add Texture
-
Go to Filter > Filter Gallery and apply a texture effect, such as Grain or Texturizer, to make the stain look like it seeped into the paper.
-
Alternatively, overlay a grunge texture or use a grunge brush for added realism.
OR

1. Create a New Layer
- Open your project or create a new canvas in Photoshop Elements.
- Add a new layer by going to Layer > New > Layer or clicking the new layer icon in the Layers panel.
2. Draw a Circle
- Select the Ellipse Tool from the toolbar (press U to cycle through shape tools).
- Set the tool to draw a circle:
- Hold down the Shift key while dragging to ensure the circle is perfectly round.
- Set the stroke color to a dark brown and the fill to None (or transparent).
3. Simulate the Stain’s Imperfect Look
- Rasterize the circle layer:
- Right-click the layer in the Layers panel and choose Rasterize Layer.
- Select the Eraser Tool (E) with a soft brush and adjust the size.
- Erase small portions of the circle to give it a rough, uneven appearance, mimicking the natural irregularity of a coffee stain.
4. Add a Drippy Effect
- Select the Brush Tool (B) and choose a small, soft brush.
- Use a dark brown color similar to coffee.
- Paint small lines or droplets extending from the circle to simulate spilled coffee.
5. Apply a Texture
- Go to Filter > Filter Gallery and explore texture effects (e.g., Texturizer or Grain) to add a paper-like texture to the stain.
- Alternatively, you can use a grunge brush (downloadable online) for a realistic effect.
6. Lower the Opacity
- Lower the layer’s opacity to around 50–70% to give the stain a translucent look.
7. Add Color Variation
- Create a new layer and use the Brush Tool with a slightly different brown shade to paint subtle color variations within the circle.
- Change the blending mode of this layer to Multiply or Overlay for a more natural look.
8. Finalize the Stain
- Merge layers if needed by selecting them and pressing Ctrl+E (Windows) or Cmd+E (Mac).
- Position and resize the stain as desired.
Coffee Cup Stains in PSE, Coffee Cup Stains in PSE, Coffee Cup Stains in PSE, Coffee Cup Stains in PSE, Coffee Cup Stains in PSE, Coffee Cup Stains in PSE, Coffee Cup Stains in PSE, Coffee Cup Stains in PSE, Coffee Cup Stains in PSE,


Great tutos, Bina, thanks!
Unfortunately, I can’t see anything, only white space.